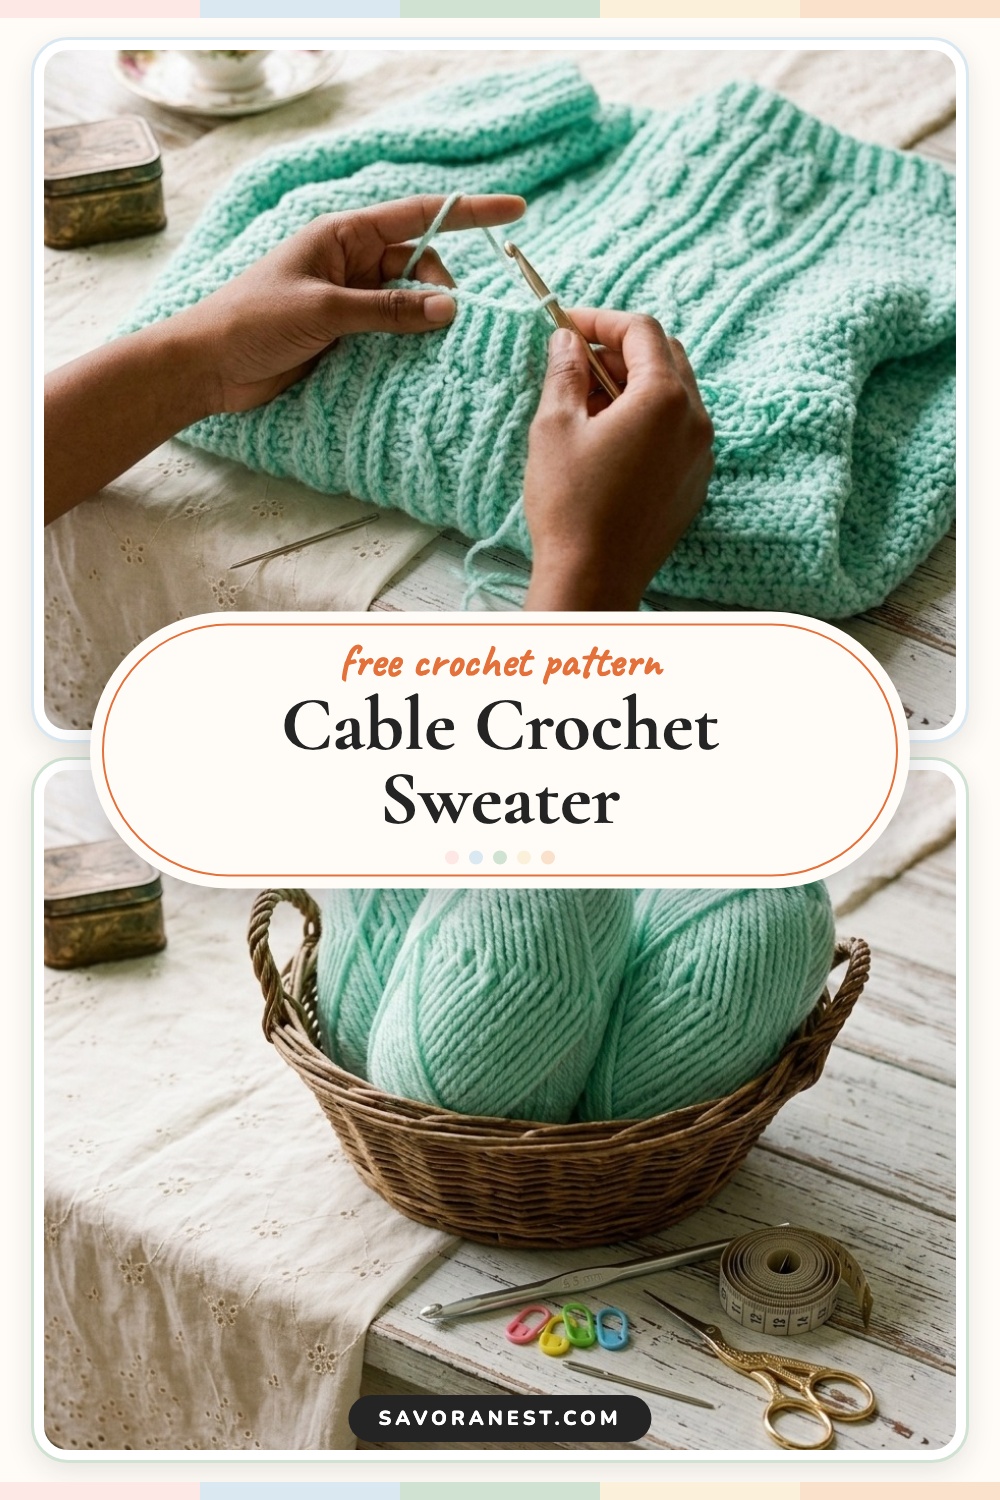
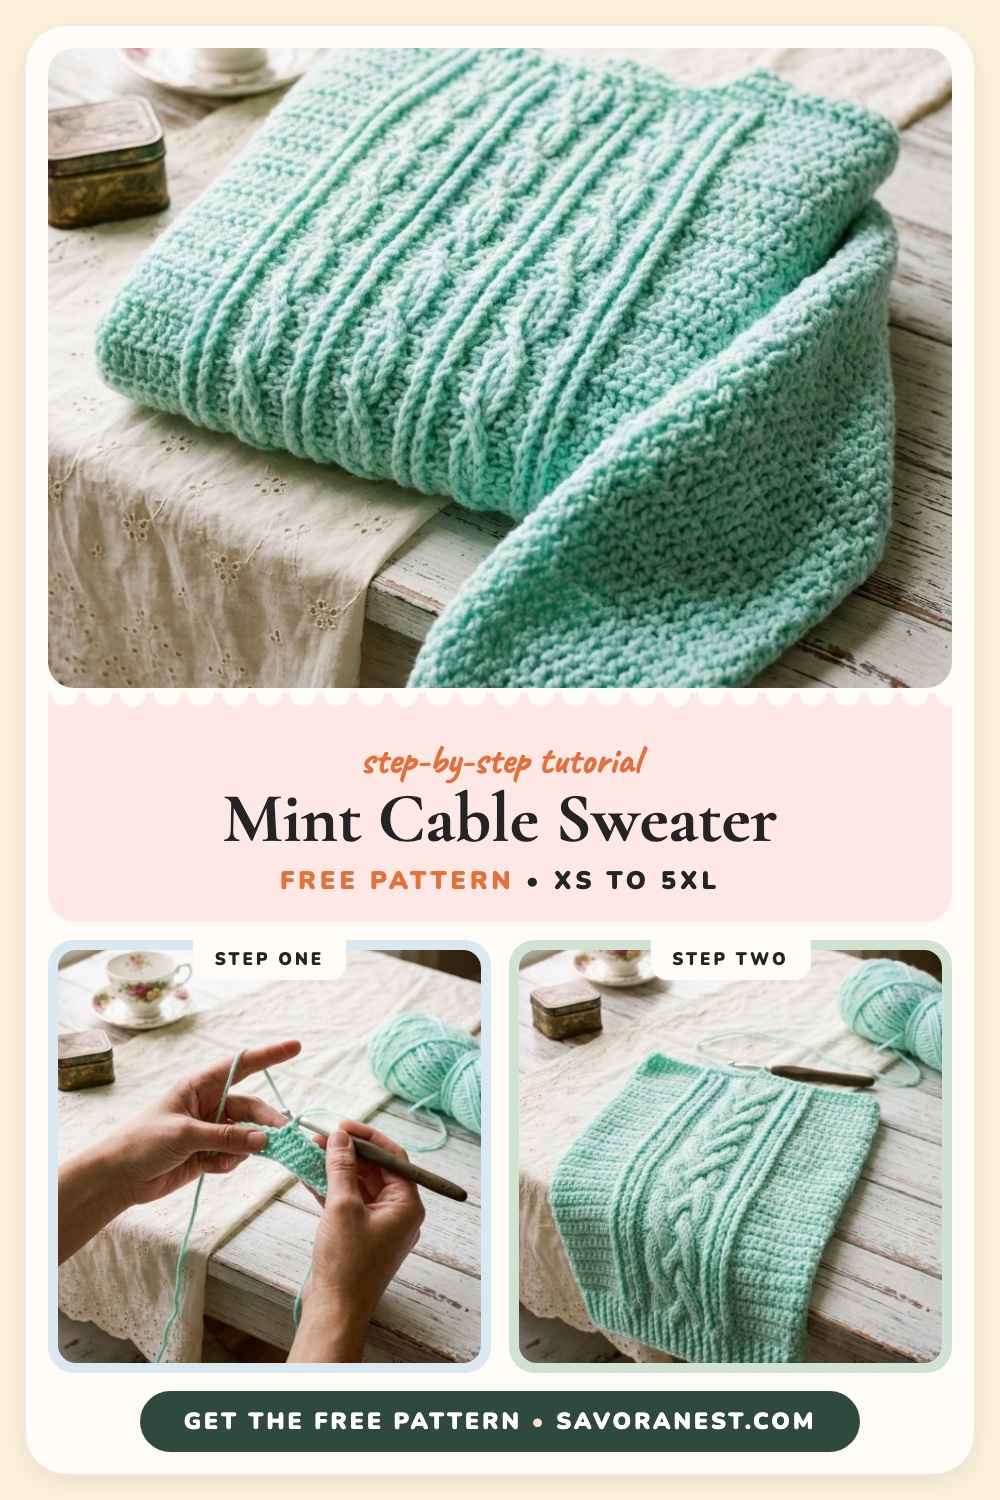
Gotta Have It Cable Crochet Sweater: A Free Crochet Sweater Design (XS to 5XL)
Some sweaters you make once and forget. Others become the one you reach for every chilly morning, the one friends ask about, the one you secretly want to make again in a second colour. The Red Heart Gotta Have It Cable Crochet Sweater is firmly in the second group for me. It is a relaxed, drop-shoulder crew neck worked in simple rows of double crochet, with a wide panel of raised rope cables running straight down the front. If you have been searching for a crochet sweater design that looks like a boutique knit but is honestly built from stitches you already know, this free pattern is the one I would hand you first.
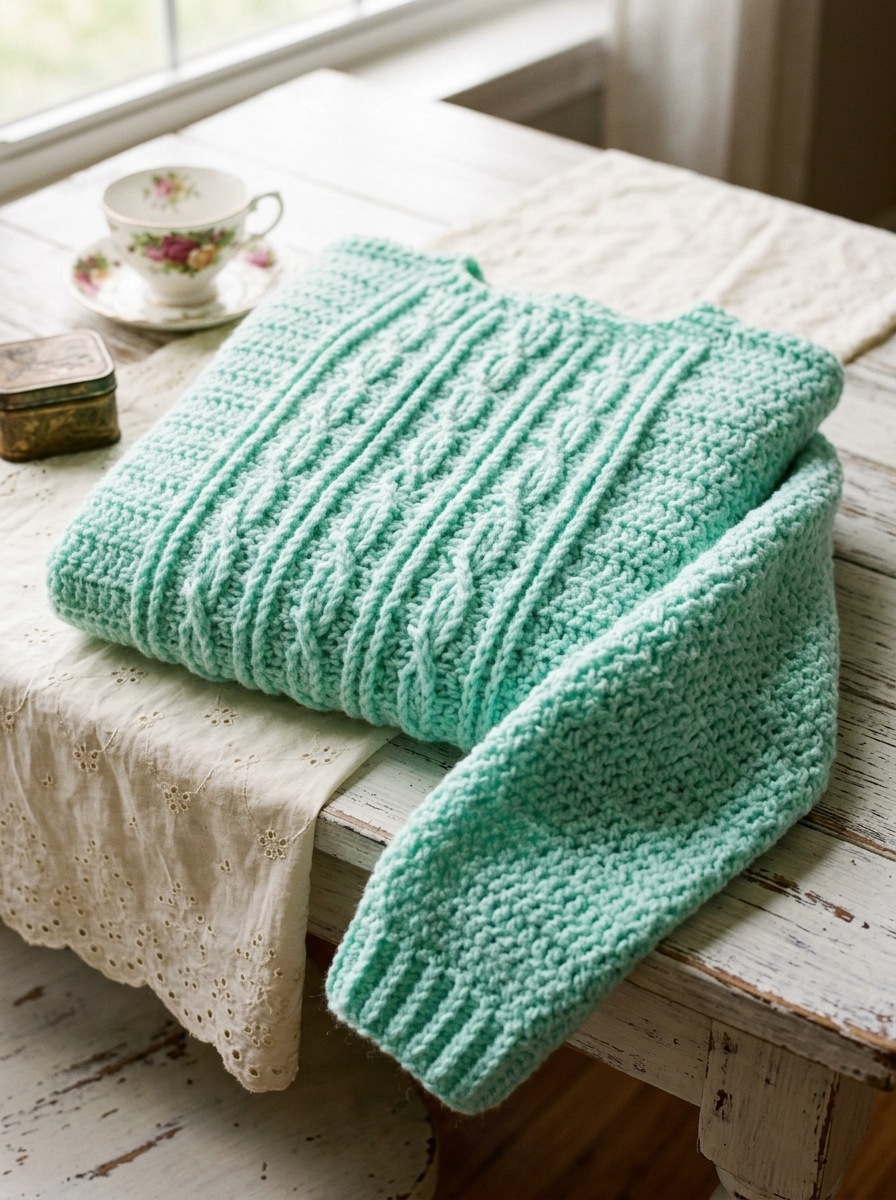
I made my sample at the old painted table by my window, the one with the chipped white paint and the eyelet cloth my grandmother left me, and it felt like the most natural project in the world for autumn. The back and sleeves are pure double crochet, which means they grow quickly while you listen to a podcast. All the drama lives on the front, where front post double treble stitches lift up off the fabric and cross over each other every fourth row. The result looks intricate, but the rhythm is repetitive and very easy to memorise after the first repeat.
Sarah’s Pattern Dossier
- DesignRed Heart Gotta Have It Cable Crochet Sweater by Diane Moyer
- Skill LevelIntermediate
- SizesXS/S, M, L, XL, 2/3XL, 4/5XL
- Finished Chest42 (44-46-52-56-58)” [106 (112-116-132-142-148) cm]
- YarnRed Heart With Love, Medium #4, Minty (1932)
- HookU.S. K/10.5 (6.5 mm) or size needed for gauge
- Gauge11 dc and 7 rows = 4″ [10 cm]
- Construction4 flat pieces: Back, Front, 2 Sleeves, seamed
Why This Crochet Sweater Design Is Trending Right Now
Crochet sweater designs are having a real moment on Pinterest this season, with searches more than doubling in the last month. I think it comes down to two things. First, soft pastel knitwear is everywhere in shops again, and a mint cable pullover is exactly the kind of piece that looks expensive in a store window. Second, more makers want a garment that feels like a step up from granny squares without diving into complicated shaping. This sweater sits right in that sweet spot.
The shape is deliberately simple. There are no raglan increases, no short rows and no colour changes. You work four rectangles with a little armhole and neckline shaping, sew them together, and add a two-round neckband. The finished chest measurement includes plenty of positive ease, so the fit is roomy and comfortable, the kind of sweater you can layer over a collared shirt for a campus look or wear alone with jeans on a weekend.
Materials and Tools You Will Need
Basket Supplies & Hook Guide
- Red Heart With Love (7 oz/198 g; 370 yds/338 m per ball) in Minty (1932): 3 (4-5-6-6-7) balls
- Size U.S. K/10.5 (6.5 mm) crochet hook, or the size needed to obtain gauge
- Stitch markers, to mark the 23-stitch Cable Panel on the front
- Yarn needle, for seaming and weaving in ends
- Soft tape measure and small scissors
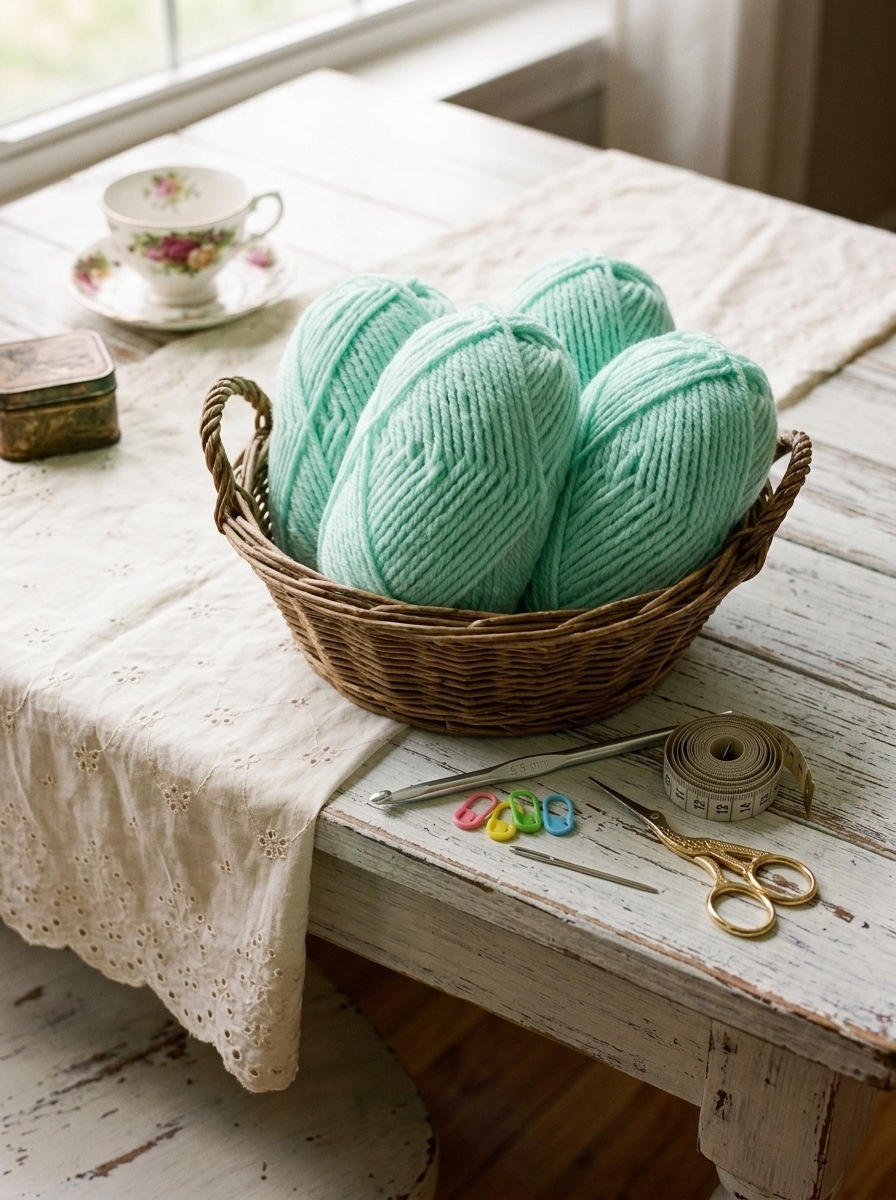
Red Heart With Love is a soft premium acrylic in a worsted weight, and it is a lovely match for cables because the stitches stay crisp and rounded. It also has a gentle sheen that makes the raised posts catch the light. If you substitute, look for another Medium #4 yarn and check your gauge carefully, because the cable panel pulls the fabric in slightly and a looser yarn can make the front lose definition.
Sizing at a Glance
| Size | To Fit Bust | Finished Chest | Balls |
|---|---|---|---|
| XS/S | 28-34″ [71-86.5 cm] | 42″ [106 cm] | 3 |
| M | 36-38″ [91.5-96.5 cm] | 44″ [112 cm] | 4 |
| L | 40-42″ [101.5-106.5 cm] | 46″ [116 cm] | 5 |
| XL | 44-46″ [112-117 cm] | 52″ [132 cm] | 6 |
| 2/3XL | 48-52″ [122-132 cm] | 56″ [142 cm] | 6 |
| 4/5XL | 54-56″ [137-142 cm] | 58″ [148 cm] | 7 |
Instructions are written for the smallest size, with the larger sizes in brackets. When only one number is given, it applies to every size. Before you start, it helps to note the stitch counts for your size down the instructions below.
Stitch Key for the Cable Panel
Stitch Key
| Fdc | Foundation double crochet. Ch 3 (counts as first fdc), yoh, insert hook under top 2 strands of first ch, pull up a loop, ch 1, [yoh and draw through 2 loops] twice. Continue working into the ch at the base of the previous fdc to the number needed. |
| Dc | Double crochet. |
| Dc2tog | [Yoh and draw up a loop in next st, yoh and draw through 2 loops] twice, yoh and draw through all 3 loops. |
| Dcfp | Front post double crochet, worked around the post of the next stitch from the front. |
| Dtrfp | Front post double treble. [Yoh] 3 times, draw up a loop around the post of next st from the front, [yoh and draw through 2 loops] 4 times. Skip the st behind the dtrfp. |
| LCC | Left Cross Cable. Skip next post st, dtrfp around next 2 post sts, then working in front of the sts just made, dtrfp around the skipped post st. |
Step-by-Step: How to Crochet the Gotta Have It Cable Sweater
Step 1: Start the Back With a Foundation Double Crochet Edge
Fdc 57 (61-65-73-77-81) and turn. Foundation double crochet gives you a stretchy, tidy bottom edge with no chain to fight with, and it is worth learning if you have not used it before.
Row 1 (WS): Ch 1, 1 dc in each st across, turn. Row 2: Ch 1, [1 dc in next st, dtrfp around dc made in Fdc row] across to last st, 1 dc in last dc, turn. This single textured row gives the hem a subtle ribbed look. Row 3: Ch 1, 1 dc in each st across, turn. Repeat Row 3 until the work measures 18.5 (18.5-18.5-18.5-18.5-19)” [47 (47-47-47-47-48) cm] from the beginning.
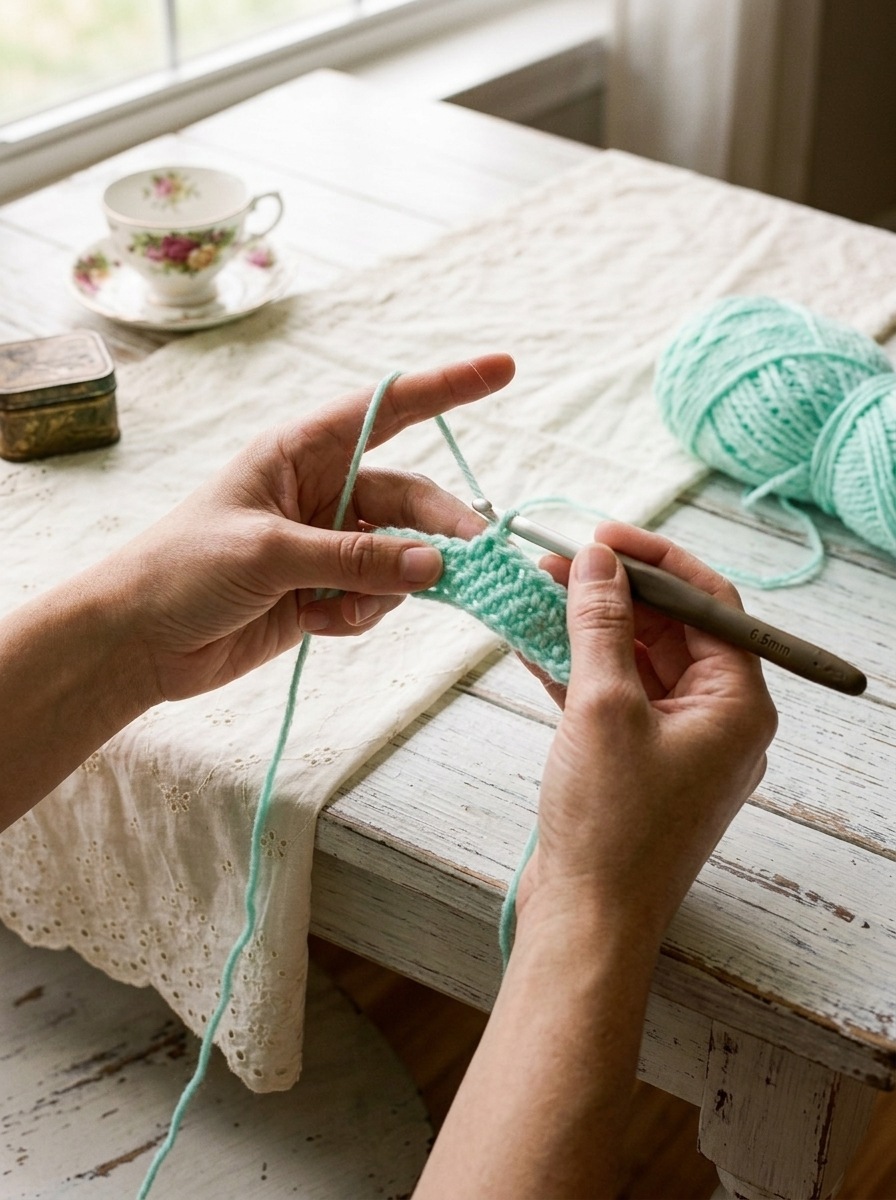
The ch 1 at the beginning of each row does not count as a stitch. It only helps you reach the height of the first dc, so always work your first dc into the last dc of the previous row. Count your stitches every few rows on the back; it is much easier to fix a missed stitch now than at the seaming stage.
To shape the armholes, work the next row as follows: Ch 1, sl st in each of first 7 sts, ch 1, 1 dc in same st as last sl st, 1 dc in each of next 44 (48-52-60-64-68) sts, turn, leaving the remaining 6 dc unworked. You now have 45 (49-53-61-65-69) dc. Repeat Row 3 until the armhole measures 8.5 (9-10-10.5-11.5-12)” [21.5 (23-25.5-26.5-29-30.5) cm].
For the neck, work the first side: Ch 1, 1 dc in each of next 9 (11-13-16-18-19) dc, dc2tog, turn. Next row: Ch 1, 1 dc in each of next 10 (12-14-17-19-20) sts and fasten off, leaving a long tail for sewing. For the second side, skip the center 23 (23-23-25-25-27) dc, join yarn with a sl st in the next dc, dc2tog, then 1 dc in each of the remaining 9 (11-13-16-18-19) dc. Work one more row of 10 (12-14-17-19-20) dc and fasten off with a long tail.
Step 2: Work the Cabled Front Panel
The front begins exactly like the back: Fdc 57 (61-65-73-77-81), turn, then Row 1 (WS): Ch 1, 1 dc in each st across, turn. Row 2 is the set-up row that establishes the post stitches across the width, including the centered 23-stitch Cable Panel: Ch 1, dtrfp around each of first 17 (19-21-25-27-29) sts, dtrfp around each of next 2 sts, [1 dc in next st, dtrfp around each of next 3 sts, 1 dc in next st, dtrfp around each of next 2 sts] 3 times, dtrfp around each of last 17 (19-21-25-27-29) sts, turn. Place markers on either side of the 23-stitch center panel, then work Row 3 (WS): Ch 1, 1 dc in each st across, turn.
From there, the front settles into a 4-row rhythm. Row 4: Ch 1, 1 dc in each of first 17 (19-21-25-27-29) sts, dtrfp around each of next 2 sts, [1 dc in next st, LCC in next 3 post sts, 1 dc in next st, dtrfp around each of next 2 post sts] 3 times, 1 dc in each of last 17 (19-21-25-27-29) sts. Row 5: Ch 1, 1 dc in each st across, turn. Row 6: work as Row 4, but replace each LCC with a dtrfp around each of the next 3 sts. Row 7: Ch 1, 1 dc in each st across, turn. Repeat Rows 4 to 7 until the front measures 18.5 (18.5-18.5-18.5-18.5-19)” [47 (47-47-47-47-48) cm].
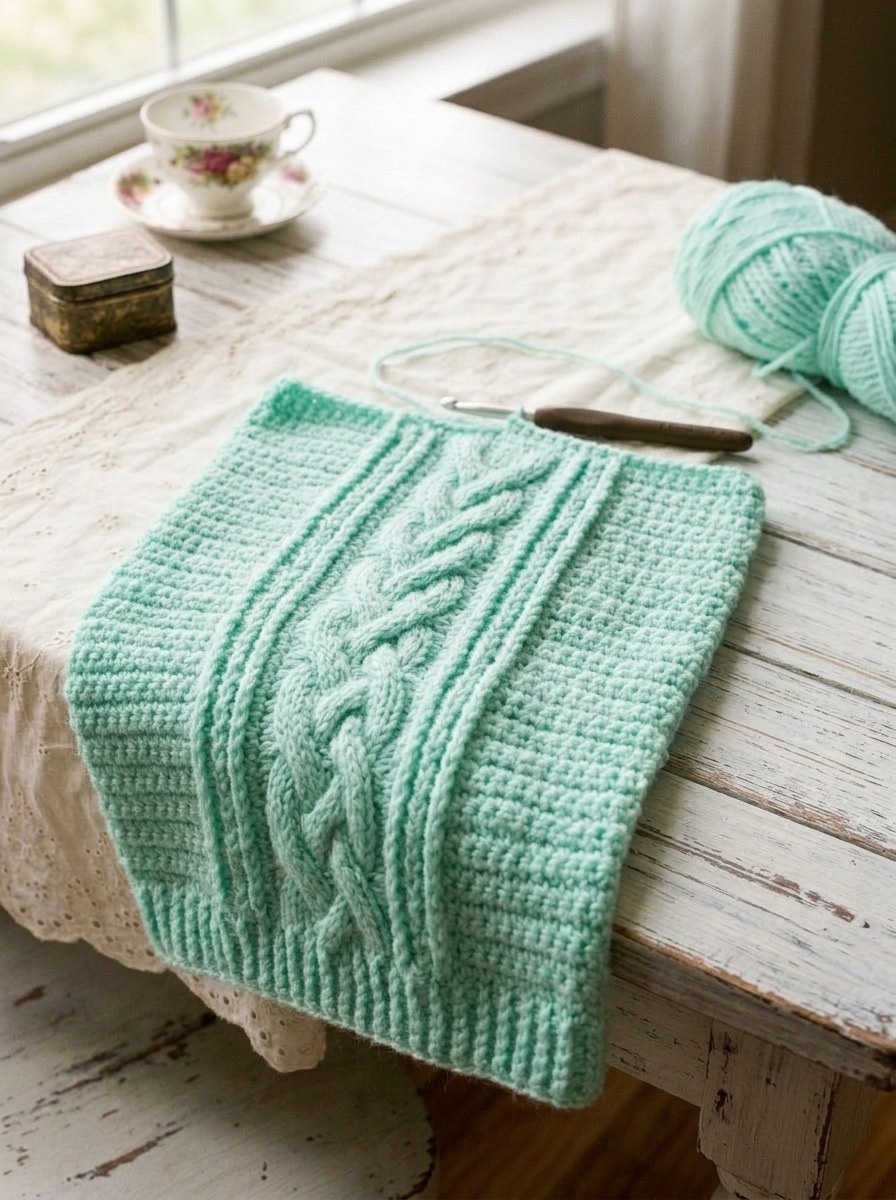
On right side rows, tilt the work slightly toward you so you can clearly see the gaps between the post stitches below. Every post stitch replaces a stitch on the current row, so remember to skip the stitch behind each dtrfp or your panel will slowly widen.
Shape the front armholes exactly like the back, leaving 45 (49-53-61-65-69) dc, and continue in pattern until the armhole measures 8.5 (9-10-10.5-11.5-12)” [21.5 (23-25.5-26.5-29-30.5) cm]. The front neck is a little deeper: work 11 (13-15-18-20-21) sts, dc2tog and turn, then decrease at the neck edge over the next rows down to 10 (12-14-17-19-20) sts, work 2 rows even and fasten off. Skip the center 19 (19-19-21-21-21) sts and mirror the shaping for the second side.
Step 3: Crochet the Sleeves From the Top Down
The sleeves start at the top. Fdc 51 (55-61-63-69-71) sts and turn. Work 2 rows of dc. Decrease row: Ch 1, dc2tog, 1 dc to last 2 sts, dc2tog, turn, leaving 49 (53-59-61-67-69) sts. Continue in dc rows, repeating the decrease row every 3rd row 4 (4-0-1-0-0) times, then every other row 7 (8-14-13-15-15) times, until 27 (29-31-33-37-39) sts remain. Work even until the sleeve measures 17 (17.5-17.5-18-18-18.5)” [43 (44.5-44.5-46-46-47) cm] and fasten off.
Step 4: Block, Seam and Add the Ribbed Neckband
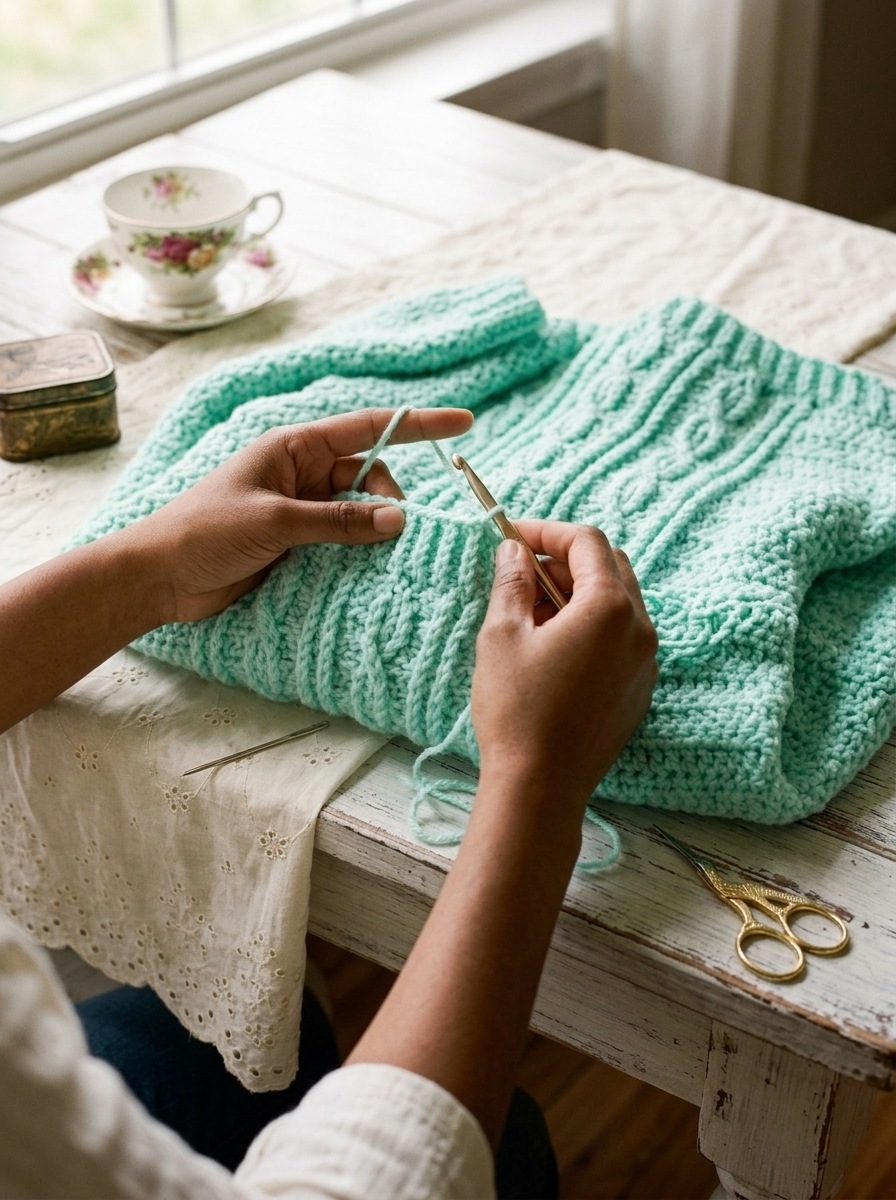
Pin all pieces to the schematic measurements, cover with a damp cloth and leave until dry. Sew the shoulder seams. Sew the top of each sleeve into the armhole, easing the upper side edge of the sleeve to the slip stitch edge of the armhole shaping, then sew the side and sleeve seams.
Neckband Round 1: With the right side facing, join yarn with a sl st at the left shoulder seam. Ch 1 and work 70 (70-70-74-74-78) dc evenly spaced around the neck, then join with a sl st to the first dc. Round 2: Ch 1, [1 dc in next st, dcfp around next st] around. Join with a sl st to the first dc and fasten off.
Caring for Your Cable Sweater
Because Red Heart With Love is an easy-care acrylic, this is a sweater you can actually wear every week. Follow these care guidelines for the yarn:
I like to turn the sweater inside out before washing to protect the raised cables, and I lay it flat for the last few minutes of drying so the side seams stay straight.
Frequently Asked Questions
Is this sweater suitable for a confident beginner?
Yes, if you are comfortable with double crochet and willing to learn front post stitches. The back and sleeves are a great warm-up, and by the time you reach the front, the post stitch rhythm will feel familiar.
Can I make the sweater longer or cropped?
Adjust the length before the armhole shaping on both the back and front by the same amount. Every 4 inches added to the body uses roughly half a ball more yarn in the smaller sizes.
Why are my cables leaning or looking flat?
Usually the double treble posts are being pulled too tight. Pull up each loop to the full height of the row and remember to skip the stitch hidden behind every post stitch.
Tuck This Pattern Into Your Recipe Box
Bookmark this page or pin the Gotta Have It Cable Sweater to your favourite crochet board so the sizing chart and cable rows are always one tap away.
Bookmark This TutorialMore From the Nest
The Savora Nest Circle
Hi, I am Sarah. Once a week I send one cosy free pattern, one stitch tutorial and a little note from my crochet nest. Pull up a chair and join the circle.
Join the CircleI hope this minty cable sweater keeps you warm all season and gives you that wonderful feeling of wearing something you made with your own two hands. If you make one, I would love to see which colour you choose.
Save These Pins for Later